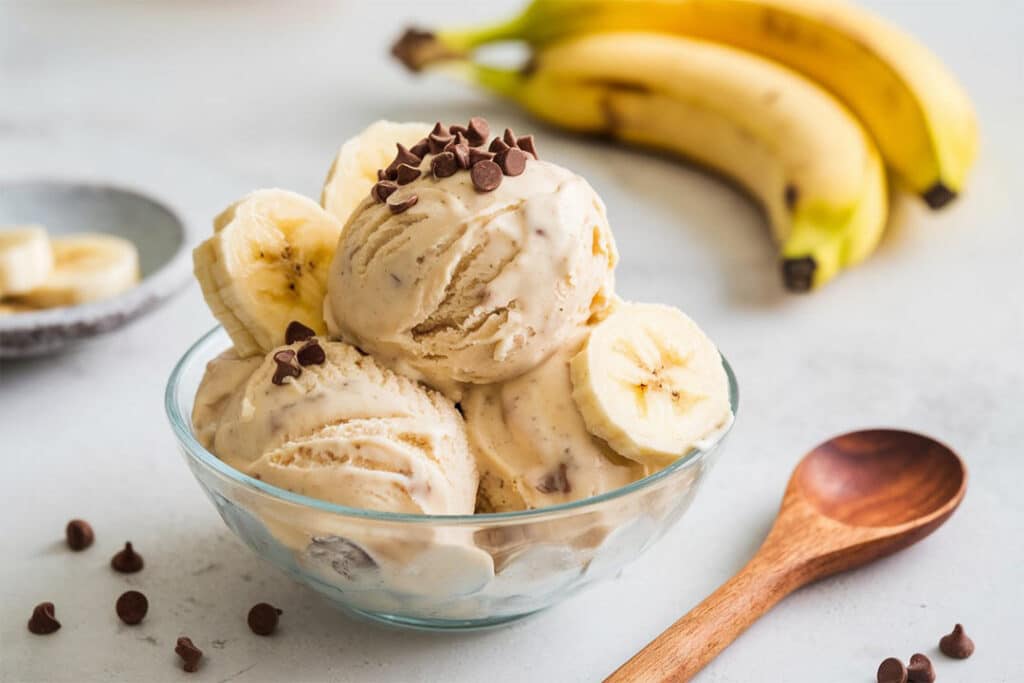
Hi there! I’m Ruby Elise, and let me tell you—this vegan banana ice cream was a game-changer in my kitchen!
The first time I made it, I thought, Can frozen bananas turn into ice cream? Spoiler alert: Yes, but not without a few hiccups. My first batch was too icy, then too mushy—but I cracked the code after some trial and error.
Now, I’ve got the perfect trick for a creamy, scoopable texture without dairy or added sugar. My kids love it, and I get to enjoy a guilt-free treat. Ready to make your own? Let’s do this! 🍌✨
Ingredients for Vegan Banana Ice Cream
Making this ice cream is as simple as it gets! You only need one main ingredient—bananas! But if you want to level up the flavor and texture, here are a few extras I swear by:
Base Ingredients
- 4 ripe bananas (the riper, the better for natural sweetness)
Optional Add-ins for Extra Flavor
- 1 teaspoon vanilla extract – Adds a warm, dessert-like flavor.
- 2 tablespoons dairy-free milk – Helps with blending if the bananas are too firm.
- 1 tablespoon nut butter (like almond or peanut butter) – Makes it extra creamy.
- 1 tablespoon cocoa powder – For a rich chocolatey twist.
- A pinch of sea salt – Enhances all the flavors.
I used to freeze and blend my bananas, but sometimes they turned out too icy or thick. The secret? Add a splash of milk and blend in pulses instead of all at once!
How to Make Vegan Banana Ice Cream (Step-by-Step Guide)
The best part? No fancy equipment is needed! Just a blender or food processor and a little patience.
Also Read: 30 Simple and Tasty Healthy Dessert Recipes to Make at Home
Step 1: Freeze the Bananas
Peel and slice the bananas into coins. Please place them in a single layer on a baking sheet lined with parchment paper. Freeze for at least 2 hours (or overnight for the best texture).
👉 Tip: If you throw whole bananas in the freezer, you’ll have a nightmare trying to blend them. Been there, done that!
Step 2: Blend Until Creamy
Toss the frozen banana slices into a blender or food processor. Blend on low speed, pausing to scrape down the sides. At first, it’ll look crumbly—don’t panic! Keep going until it turns smooth and creamy.
👉 Fixing Texture Issues
- Too thick? Add a splash of dairy-free milk.
- Too thin? Pop it in the freezer for 30 minutes before serving.
Step 3: Add Flavors
Once smooth, mix in your favorite flavors—vanilla, cocoa powder, nut butter—whatever you love!
Step 4: Serve or Freeze for a Firmer Texture
For soft-serve consistency, enjoy it right away! If you prefer a scoopable texture, transfer it to an airtight container and freeze for 1-2 hours.
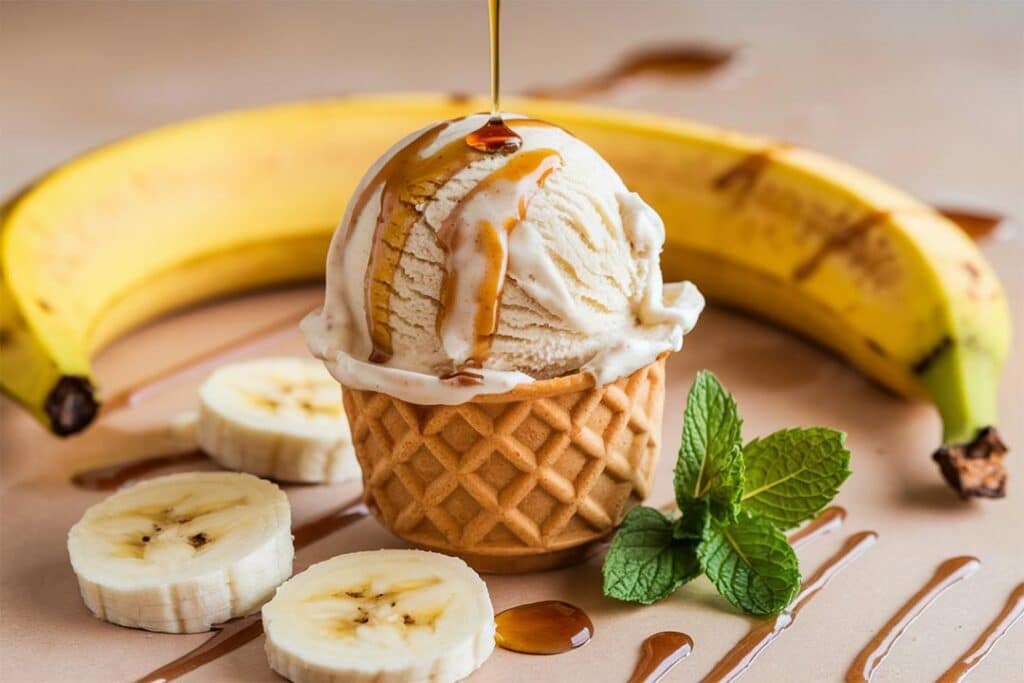
And that’s it! In just a few simple steps, you’ve got a creamy, naturally sweet ice cream that’s 100% guilt-free! 🍌🍦
Best Toppings & Flavor Variations
One of the best parts of making vegan banana ice cream is customizing it with delicious toppings and flavor twists! Here are a few ideas that’ll take your creation to the next level:
Toppings
- For a crunchy texture, chopped nuts (almonds, walnuts, or pecans).
- Shredded coconut to add a tropical vibe.
- Dairy-free chocolate chips because who doesn’t love a little chocolate?
- Fresh fruit like strawberries, raspberries, or even a handful of granola for added crunch.
- Drizzle of maple syrup or agave for a sweet finish.
Flavor Variations
- Peanut Butter Banana Ice Cream: Blend in 2 tablespoons of peanut butter to make it rich and creamy.
- Chocolate Banana Ice Cream: Add 2 tablespoons of unsweetened cocoa powder for a chocolatey kick!
- Berry Banana Ice Cream: Blend in a handful of mixed berries for a fruity, flavorful twist.
- Mint Chocolate Chip: Add a few drops of mint extract and some dairy-free chocolate chips for a refreshing take on a classic!
Tips for the Perfect Texture & Storage
I’ll admit—getting that perfect creamy texture wasn’t always easy for me! Early on, I’d eat something too icy or thick to eat. Here’s what I’ve learned over the years to get it just right:
Perfecting the Texture
- Use ripe bananas: The more ripe the bananas, the sweeter and creamier the ice cream.
- Don’t skip the dairy-free milk: A tiny splash of almond or coconut milk really helps with the blending.
- Blend in stages: Start slow, then pulse to help the bananas break down without making them too chunky.
Storage Tips
- Store it in an airtight container in the freezer if you want to keep it for later. It’ll last up to a week, but I bet it won’t last that long!
- Let it soften a little before serving—after freezing for a couple of hours, let it sit at room temperature for about 5 minutes to soften up. It’ll scoop so much easier!
Pro Tip: If you want to make this ice cream for a party or gathering, make it the night before and keep it frozen until you’re ready to serve. Don’t forget to take it out for a few minutes before serving!
Recipe for Vegan Banana Ice Cream
Now that you’ve got all the details, here’s this easy, creamy, healthy vegan banana ice cream recipe. Enjoy making it, and don’t forget to share your creations with me!
Ingredients
- 4 ripe bananas (peeled and sliced)
- 1 teaspoon vanilla extract (optional)
- 1-2 tablespoons dairy-free milk (optional for better blending)
- 1 tablespoon nut butter (optional)
- 1 tablespoon cocoa powder (optional for chocolate flavor)
Instructions
- Freeze the bananas: Place the sliced bananas on a baking sheet and freeze for 2-3 hours or overnight.
- Blend the bananas: Add the frozen banana slices to a blender or food processor. Blend until creamy, stopping to scrape the sides. Add a splash of dairy-free milk if needed.
- Add flavorings: Mix in vanilla extract, cocoa powder, or nut butter, and blend again.
- Serve or freeze: For a soft-serve texture, enjoy immediately. For a firmer texture, transfer to an airtight container and freeze for 1-2 hours before serving.
- Top and enjoy: Add your favorite toppings and enjoy a guilt-free treat!
Yield: Makes about 2-3 servings.
And just like that, you’ve got a healthy, creamy, and delicious treat everyone will love. So easy, and so good!
Conclusion
And that’s it! Your easy homemade vegan banana ice cream is ready to enjoy—no sugar, no dairy, and completely guilt-free. You can create a creamy, delicious treat with just ripe bananas and a few simple ingredients.
Feel free to experiment with toppings and flavor variations to make it your own! Whether a quick dessert or a healthier snack, this recipe is a must-try. Enjoy, and don’t forget to share your creations—I’d love to hear how it turned out!